 |
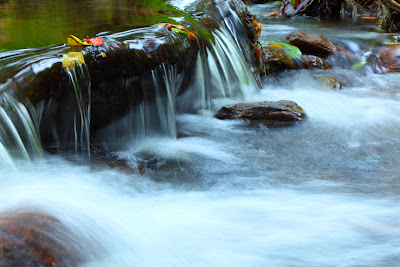
| Blurring Waterfalls with Long Exposure - Photo: Samson P Samuel |
Flowing water when photographed with long exposure times create a soothingly smooth effect. Blurring water is a relatively easy trick if you have your settings right.
Things to Remember
 |
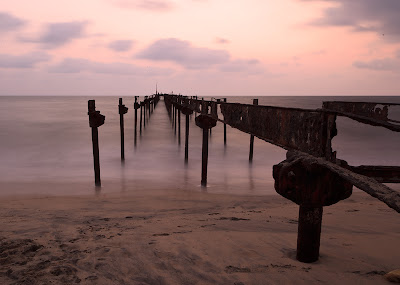
| Blurring Beaches with Long Exposure |
- Water looks best when shot at shutter speeds ranging from 1” to 10” seconds.
- To keep your camera steady you will need a solid tripod.
- A remote trigger / cable release could be a nice thing to have, but not mandatory as you can easily use your camera’s self-timer instead.
- If your camera has a mirror lock up mode then use it to eliminate any vibrations caused by the camera mirror. Shooting in live view is a quick fix for this.
- A polarizing filter could be of great help to eliminate / reduce reflections and to get more saturated colours. It could also function as a two stop ND filter in case you have trouble increasing shutter speed.
- If you compose with a little bit of sky in the frame then you will most definitely need a Graduated Neutral Density Filter to prevent the sky from clipping.
Work Flow – Step by Step Guide
 |
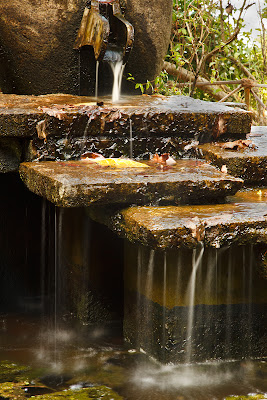
| Blurring Waterfalls and Beaches With Long Exposure |
- Look/walk around the scene with your camera in hand and check it from every angle to select the best. The live view in your camera is very helpful to check compositions.
- Once you have decided the composition and the camera position, carefully set up your camera on a tripod, attach cable release if you plan on using it.
- Attach the polarizer to your lens and adjust it till you get a pleasing combination of little or no reflection and rich colours.
- Make sure you have your ISO set to the lowest value. ISO 100 in case of most cameras.
- Now its time for you to take the picture, use any of your preferred modes, set it so that you have one full second as your shutter speed, and depending upon the effect make corrections by either increasing or decreasing the shutter speed. If you increase the shutter speed the water will get more blurred and vice versa.
- Carefully review your pictures in the LCD panel on the back of your camera.
- Take pictures with varying speeds, often times the picture you liked best while reviewing on your little camera screen might not be the one you like best when viewing later on a larger computer screen.
Related Reading


