Here is my Pipe Extension Tube set-up.
 |
| DIY Extension Tube using PVC Pipe |
Once again I don't know of anyone else who has done this so maybe I am an inventor!!!!
You can cut the pipe to any length you want. I am not an engineer so going over 100mm would be a bit overboard.
Basic Build
A pot with about 1 inch of boiling water will soften one end of the pipe. Stand the pipe up in the middle of the pot and let it heat up for a few minutes. You can lift it up and touch it to see how it is doing.
1. Fit the reversing ring into the soft end of the pipe and clamp it. Run some cold water over it and leave the clamp on for now. The heated pipe will form a seal on the threads of the reversing ring.
2. Stick the second end of the pipe into the pot and heat it up as before. This time put the end cap into the end of the pipe making sure to push it down on a counter top so that it is flush with the end of the pipe. The cap should fit nicely into the heated pipe. You may find that you have to heat the pipe up longer than the first end due to how far the lens cap has to go into the pipe.
A "Genuine" Nikon cap fits best....some of the 3rd party Nikon caps don't fit. The Nikon cap flairs out to fit snug into the pipe.
Once the lens cap is in flush then rinse under cold water.
3. Once pipe has cooled down below room temperature you then will need to pop out the lens cap with a ruler or dowel or anything you can find.
Why? because you will have to dremel or drill a hole out of the center of the lens cap so that the light will travel down the tube. Once you drill out the hole you will have to re-insert it back into the tube AND CHECK IT WITH THE LENS ATTACHED. This dry fit is critical.
Make sure you clean the pipe of any loose dust or plastic pieces. These can get into your lens and camera...and we don't want that!
* On my 50mm lens it has some metal flanges that stopped me from securing the lens into the cap when it was flush with the end of the pipe. In the end I had to have the lens cap stick out from the end of the pipe by about 1/8 of an inch. This space allowed the flanges to mount properly....the dry fit is very, very important.
When it looks good add some drops of crazy glue along the edge of the end cap where it matches the pipe - AND LET IT SET-UP REALLY GOOD (Can you tell that I didn't and had to re-glue it?). If there is a better way to bond these then please let me know....
4. One last finishing touch! Get some FLAT BLACK spray paint and spray all the inside parts of the tube where light will be moving through. This includes the inside of the pipe and the end cap section (both sides). Stick the paint nozzle right in the ends and try to spray a nice even coat on all sections.
Why? Cause if you don't then the light coming in from the lens will bounce off the smooth insides of the pipe and end cap causing a really weird ghosty/overexposed blur in the middle of your pictures.
Now let the paint dry for the time specified on the can and then go out and get introduced to your manual settings!!!!!
On a sunny day you could try F8, 320 shutter speed and 400 ISO. Make sure your histogram has a nice camels hump to it so that you know you are exposing properly.
To focus you will need to move your camera towards the subject. Once you find the focal range start clicking away. Take lots of pictures and throw away the bad and keep the good.
This set-up works good on the older lenses where you have to turn the F-stop collar on the lens itself. I don't see how it can be done with the new digital VR lenses....you need to have control over the F-stops.....hmmmmm maybe if I rammed a toothpick in the ..,.;'-;[]=-+-$ nope, better not do that.....
If you do take up this project I would sure love to have at least one more person in the club. Hey, do post some results in the comments!
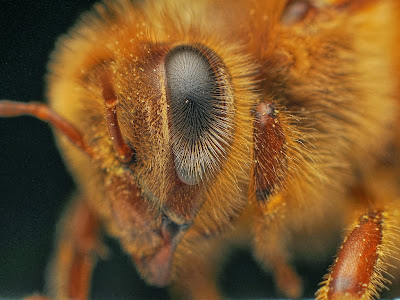
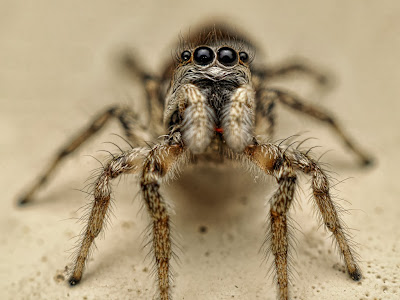
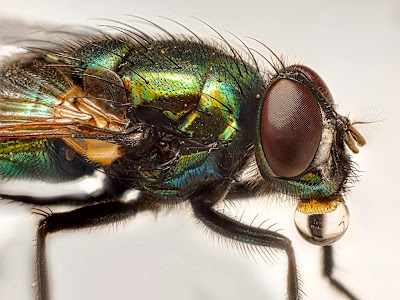
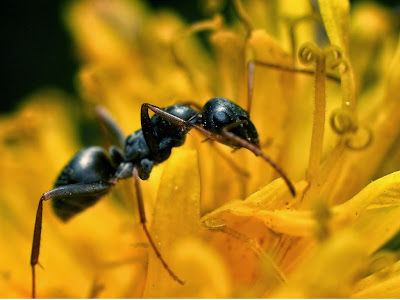
Here are some shots taken with my pipe extension tube for your inspiration.
 |
| Photo by: Pat Kavanagh |
 |
| Photo by: Pat Kavanagh |
 |
| Photo by: Pat Kavanagh |
 |
| Photo by: Pat Kavanagh |
 |
| Photo by: Pat Kavanagh |
All the best!