 |
| Photo By: Evan Leeson |
Texture means the feel appearance or consistency; rather all the three combined to create a real life experience. Almost everyone might have fascinatedly watched images of a fresh rose blossom with two or three dew drops resting on its petals; while those petals look simply great; those dewdrops glow like real gems. The beauty of rose petal is in their texture; if this so called texture is that wonderful; can we too add this ‘magical ingredient’ in our images? Oh yes; go through these tips to find out how.
Capturing texture can convey a sense of touch to a photograph. A good photograph will reveal the texture of the image in such a way that information about its surface will be fully conveyed without any loss in transmission. Information like how soft or rough to touch, glossy or matt, a sense of its dimensionality, the subject's weight and bulk, appearing fresh or worn out, young or aged etc. In a sense the whole concepts regarding beauty or ugliness are contained in texture; telling to the viewer most part of your story in a single feature.
 |
| Photo By: Edgar Barany |
The trick to capture texture effectively in a photograph is to accentuate any surface undulations or lack of them. There are four major factors that reveal texture; details, patterns, color and depth; all contributing equally making your image rather sensual.
Finding Interesting Textures
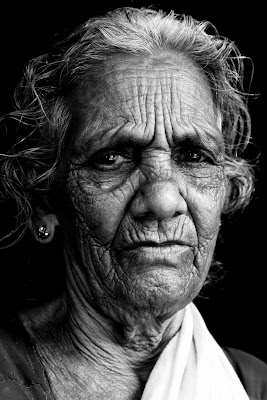
Texture can be found on all objects if you look closely. Everything from a simple brick wall, surfaces of fruits and vegetables, grass in your backyard, rocks or even the wrinkled face of an aged person has lots of captivating textures.
The hard part is not in finding interesting textures, but catching the eyeballs of the viewer and getting them stuck to your image. Once you take it seriously and start looking for patterns and details and textures, you will get better at it; and will see many textures which you haven't noticed before and very soon will start recognizing great textures at the first sight.
By moving in closer using a macro lens you will find that surfaces are like the moon; not as smooth as they appeared from a distance; think of a close-up of our dear moon with full of pimples! One way to photograph texture is to create abstract images by concentrating alone the texture completely eliminating clues about shape and form.
Tips for Photographing Textures
Capture Depth and Details
 |
| Photo By Melanie |
Enough sharpness and depth of field is a must for capturing texture at its best. Blur and texture do not go well together; make your photos real sharp, devoid of camera and subject blur and also make sure it has enough depth of field to have most of the frame in acceptable focus.
Angle of View
 |
| Photo By: Romany WG |
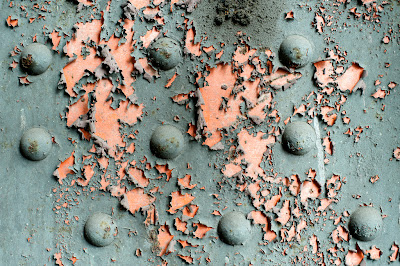
Align your subject and camera so that the subject is parallel to the sensor and make sure that most of the texture falls on the plane of focus. This serves two purposes one is that it ensures maximum use of depth of field and secondly it renders undistorted texture.
Avoid Low light Conditions to Shoot Texture
Textures are better revealed in bright light; it also makes colors more vibrant and renders crisp images. On the other hand photographs taken in low light situations show subdued colors and blur making them uninteresting.
Turn off Your On Camera Flash
 |
| Photo By: Daniel Kulinski |
The worst thing to do when trying to photograph textures is to turn on your on camera flash, light from the on camera flash is very harsh and it also comes at the same angle as that of the lens and this will render the image flat and devoid of colors.
Perfect Lighting to Shoot Textures
 |
| Photo By: Nicole |
The flattering, soft light used for photographing people is not appropriate for photographing texture. To maximize the visibility of texture, light needs to cast shadows into the furrows and dips in the surface, and highlights on the ridges so the light source should be direct, not diffused.
When the surface is reasonably flat, the light rays just need to rake across the surface at an acute angle. In any case side lighting the subject is the best method to capture texture.
Mix and match
Textures of the same color and pattern can sometimes be boring. Try to mix your texture with either matching or contrasting colors and patterns.
Watch out for Lens Distortion
Wide angle lenses are prone to distortion, especially barrel distortion; it may create an effect that works well for certain themes, but seldom with textures. Avoid distortions whenever possible; do it by either zooming in or using a longer focal length lens.
Shadows, Glare, and Reflection; a No No;
Textures look great when they are evenly lit across the frame, avoid any kind of shadows across the surface. Using a diffuser in between the subject and the light source could work well to achieve this. The other guys are glare and reflection; a lens-hood will manage the former. The second one- reflection- can be managed by a polarizing filter or by changing the angle of the camera or position of the subject in relation to the light.
Work with Contrast
 |
| Photo By: Evan Leeson |
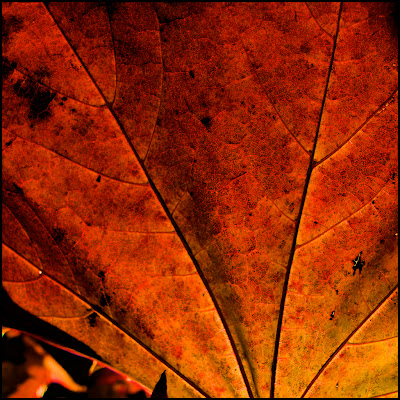
Contrast both tonal and color works well for texture photography, it helps reveal the details in texture even more.
Composition Tips
 |
| Photo By QQ Li |
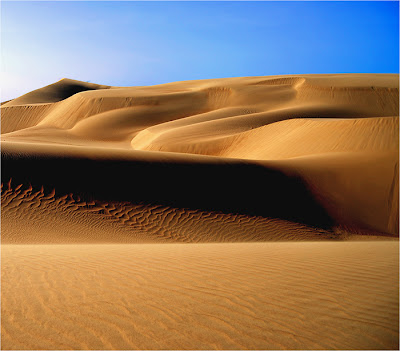
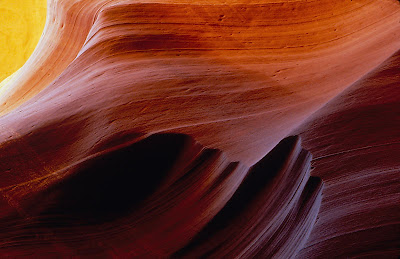
Textures can be composed in many ways first and the most commonly used method is to move in close to magnify the surface irregularities of the object. Second method is to capture texture on a grand scale when it is part of a broader scene, as with the rippling surface of sand at a beach, it's often better to back off and show the expanse of the subject.
Like patterns, many texture photos work well when they appear to extend beyond the frame of the picture. Always remember to keep the composition simple by excluding anything that may break the pattern or spoil the rhythm. Have a good day!
.
