Capturing the Milky way by Sapna Reddy
 |
| how do we take pictures of the milky way |
This is in response to all the questions I have been asked about how to capture Milky way.
1. Timing : June/July are the best months. Clear nights with little or no moon.
2. Location : Rural areas far from city lights.
3. Equipment : Camera with decent high ISO capability, tripod, f 2.8 wide angle lens.
4. Settings : ISO 3200 or higher, f 2.8, 25-30 seconds exposure. Run test shots and fine tune ISO and exposure.
5. Shoot in Manual mode and RAW images.
6. Exposure : Do not exceed 30 seconds for exposure. ( will generate star trails)
7. Focussing : Turn your lens to infinity, then dial back just a little bit. Lock in manual focus.
8. Noise reduction : Remember to turn on Long exposure/high ISO noise reduction in camera.
9. Composition : Try to incorporate foreground components to make the shots more interesting.
10. Postprocess using lightroom or PS. Make adjustments to exposure, color, contrast, noise reduction and lens corrections in camera RAW as needed.
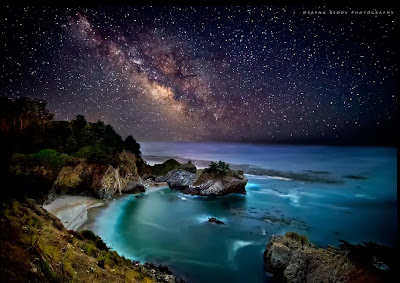
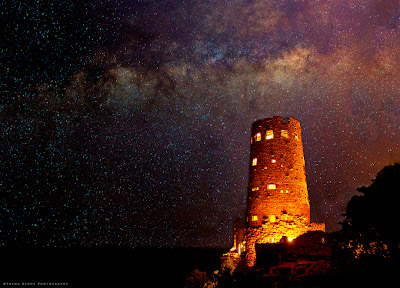
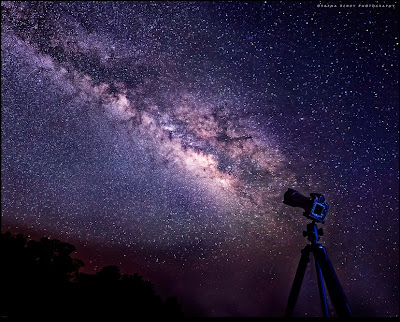
Here are some shots of the milky way for your inspiration
 |
| How to Photograph the Milky Way |
 |
| how to photograph the milky way with a dslr |
 |
| how are pictures of the milky way taken |
 |
| how do we photograph the milky way |