In the previous article How to turn any lens into a macro lens we discussed the lens reversal technique and how it works. However one of the major difficulties faced is the challenge of keeping the lens and the camera body properly aligned so that there is no light leaking through.
 |
| 18mm-55mm reversed on a Canon 500D f/3.5 @ 18mm - Subject - Robberfly Photo by: Jishnu Satheesh Babu |
It might sound easy but keeping the lens and body aligned so that it forms a seal without any gap is not a job for everyone. It requires a set of steady arms, patience and much practice. However there is one piece of equipment which could help you achieve just that; and the good news is that it does not cost much. A reverse ring could be obtained from most online stores for less than $15.
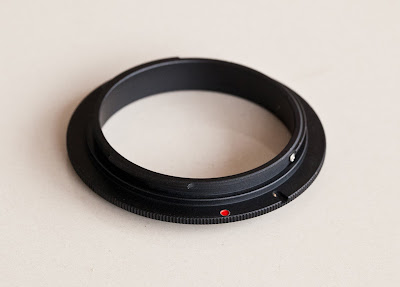
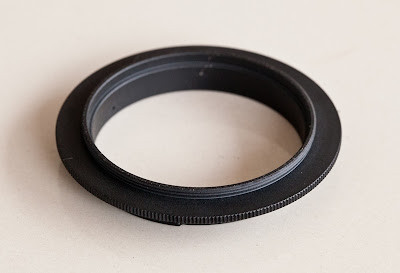
A reversing ring is a very simple piece of equipment; it has a lens mount on one end and a thread which screws to the filter mount on the other.
 |
| Lens Reversal Macro Tutorial |
 |
| Lens Reverse Ring |
It has no electrical contacts so when you reverse mount a lens your camera loses all communication with the lens and as a result certain function like auto focus and aperture control does not work.
Choosing Lenses for Reverse Ring Macro Photography
- The good thing about reverse mounting lenses is that you could use most lenses, irrespective of the maker. i.e. you can mount a Nikon lens on a Canon body and vice versa.
- General rule is that wider the viewing angle of the lens greater the magnification. So a reverse mounted 18 -55 mm lens will produce maximum magnification at 18mm and minimum magnification at 55mm.
- Prime lenses almost always produce better image quality when reverse mounted than zoom lenses.
- With a reverse mounted prime lens you get a fixed magnification which can’t be changed. If you need to change magnification you need to change lens. With a reverse mounted zoom lens you can easily change the amount of magnification by zooming in or out.
- You lose aperture control when reverse mounting lenses; so it is better to choose a lens that has manual aperture control so you can adjust aperture manually for controlling depth of field. However as you close down the aperture your viewfinder becomes darker.
- When a lens is reversed you only have a single plane of focus and focusing is to be done by varying the distance from the lens to the subject (by moving the camera closer or farther from the subject).
Lens Reversal Technique for Macro Photography
Once you have decided the lens you are going to reverse mount on the camera, you need to get yourselves a lens reverse ring. Remember our previous article - What does Ø Symbol on Lenses Mean? Yes do pay attention to the Ø size of your lens and get yourselves a matching reverse ring. Of course you could use step up and step down filters to match different size lenses and reverse rings but its always better to have one that exactly matches your lens.
You should also make sure that you buy a reverse ring with the right mount for your camera body, they come with different lens mounts like Canon, Nikon, Sony, Pentax, Fuji etc.
Lens Reverse Macro - Step by Step
- Set your lens to Manual Focusing.
 |
| Lens Reverse Macro Tutorial |
2. Attach reverse ring on to the lens (screw on to the filter thread – just like putting on a filter)
 |
| lens reversal macro photography |
3. Take out the lens from the body
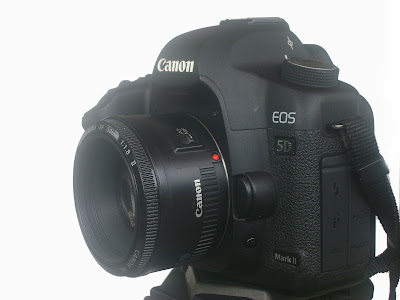
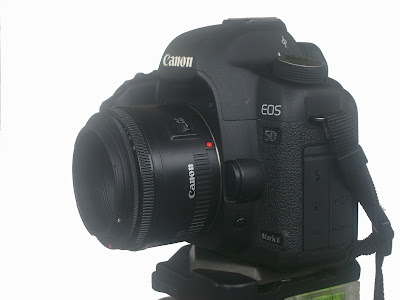
4. Mount the lens in reverse
 |
| Reverse Lens Macro Photography |
Using a lens reverse ring has many advantages over the free lensing technique. A reverse ring helps prevent light leaks, it also prevents dust and other particles from entering the sensor and it keeps the lens securely attached to the camera. So when using a reverse ring you could try photographing a little more challenging subjects like butterflies, dragonflies, robberflies and other insects.
Now that we know how to securely attach the lens reversed on the camera we will now look into one other problem with the technique. In the next tutorial we will discuss the issue of shallow depth of field and tips to overcome it.